Welcome to Elderfield Stone Tower Walkthrough
Last updated: 2026-09-27 · 9 min read
The Stone Tower is the one task that keeps sending you away instead of letting you finish it. You reach the sealed door, the journal updates, and then nothing moves — because each stage hands control to a different system: Professor Dayton, your Farm, a crop offering, the Art Gallery, and finally a fight. This walkthrough follows the task in the order the journal actually asks for, so you always know which handoff is missing when the tower stops responding.
The Stone Tower is one continuous long-term task, and the 3F crop riddles are only one blocker inside it. Examine the tower door near the Farm to start it, work through Professor Dayton's investigations, weaken the first seal by advancing farming and ranching, contribute crops or animal products worth 2,000g, solve the seven 3F crop riddles, inspect the giant keyhole, complete the Art Gallery for its key, then defeat the Emissary and report back to Dayton. Nothing here is a hidden switch: a sealed door almost always means the current external objective is unfinished.
Before You Start
You can begin the task long before you can finish it, and you should. Examine the large sealed structure near the Farm, and the task enters your journal. The giant key and the seven riddle crops are later gates, so treat your current journal objective as the only instruction: it tells you which of the five stages below is open right now.
| If your journal says… | Go to | What actually advances it |
|---|---|---|
| Investigate or ask about the tower | Tower entrance, then Professor Dayton | Interact with the door or its markings, then use his Stone Tower dialogue |
| Weaken or open the seal | Your Farm | Keep clearing farming and ranching milestones — repeat conversations do not substitute |
| Insert crops or animal products | Tower interior | Contribute valid goods until their combined value reaches 2,000g |
| Investigate further | Shrine of Xxarteck, 3F | Solve all seven crop pedestals |
| Investigate the giant keyhole | Giant door, then Dayton | Inspect the door first; the Art Gallery route then supplies the key |
| Report what happened | Professor Dayton | Return after the Emissary is dead |
The task deliberately sends you back out to farm, to talk to Dayton, and to finish the Art Gallery before the final passage can open. If a door in the tower refuses to open, check the external objective before you re-search the same room.
Phase 1: Start the Task and Weaken the Seal
- Examine the large Stone Tower door near the Farm. This first interaction is what adds The Stone Tower to the journal. If the task never appeared, this is the missing trigger.
- Speak to Professor Dayton and choose his Stone Tower dialogue. He becomes the recurring handoff for every later stage, so visit him whenever the journal names him.
- Return to the entrance and inspect the markings on the door. Do this after the conversation, not before; the same structure gives a different result once the journal has moved on.
- Show or describe the markings to Dayton. His answer identifies the first seal and moves the objective away from pure investigation.
- Keep farming and ranching until the seal weakens. Tower access follows farming and animal-care progress rather than a single key item, so this stage cannot be rushed with dialogue.
- Return to the tower when the journal updates. Recheck the entrance yourself instead of waiting for Dayton to open it.
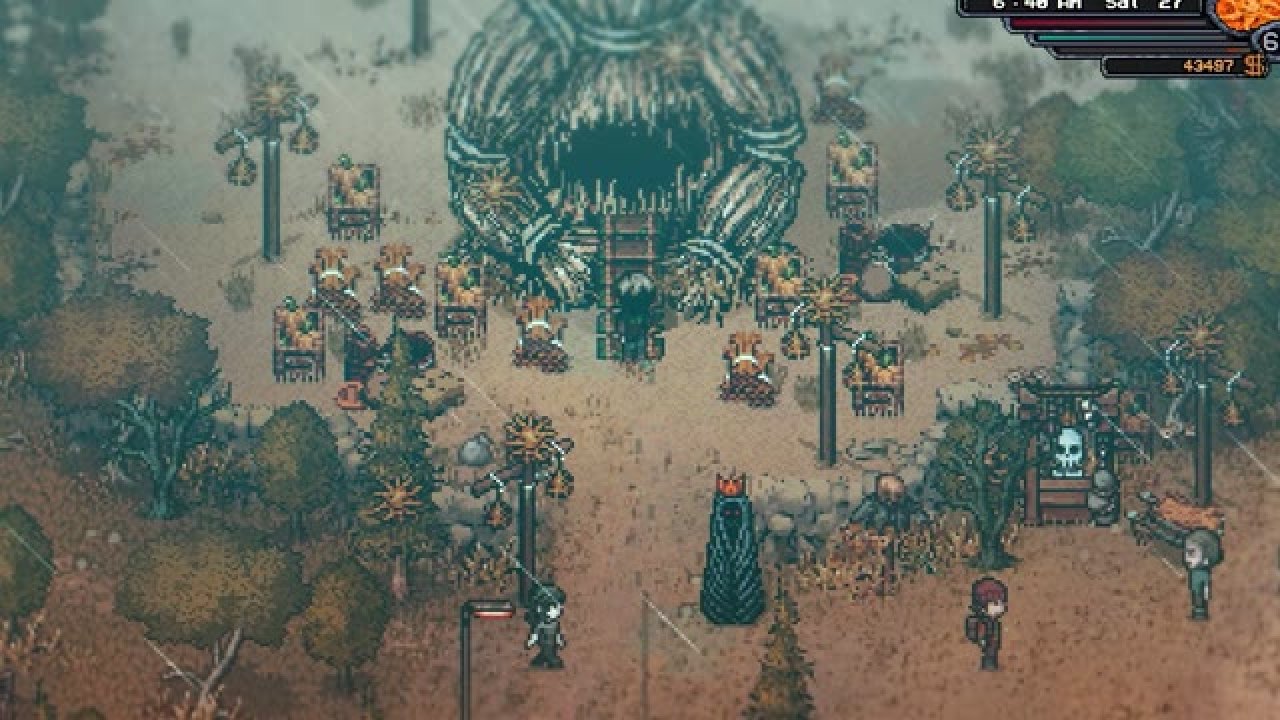
FIG. 01 — The sealed Shrine of Xxarteck entrance. The opening Stone Tower sequence alternates between this door, Professor Dayton and Farm progress, which is why the tower looks broken if you only stand here.
The entrance interaction changes and the journal sends you inside, rather than asking for more investigation or more seal progress.
Phase 2: Enter and Complete the 2,000g Offering
The first objective inside is not the riddle room. It is a separate offering gate, and keeping those two mechanics apart prevents the most common route confusion.
- Enter through the opened route and inspect the interior markings or receptacle. Let the interaction update the journal before you leave.
- Speak to Dayton if the journal asks about the writing inside. That conversation is what tells you what the tower is willing to accept.
- Return with crops or animal products worth 2,000g in total. The gate is the combined value of valid goods, so a mixed load works and no single item is mandatory.
- Contribute through the tower interaction until the objective completes. Watch the journal after each contribution and stop when it advances — the next stage is about the writing deeper in, not another contribution target.
- Ask Dayton about the strange writing. This sends the route back to the Shrine of Xxarteck and its riddle chamber.
The contribution objective disappears and the journal asks you to investigate the writing or investigate the tower further.
Phase 3: Solve the 3F Crop Riddles
This is where the 3F riddle answers belong: one room inside the Stone Tower task, not a separate topic. Reach the Shrine of Xxarteck's 3F chamber and interact with each written prompt, placing the matching harvested crop into the associated pedestal.
| 3F riddle clue | Crop to insert |
|---|---|
| Makes your heart beat faster | Coffee Bean |
| A thousand little dots | Strawberry |
| Has an eye but cannot see | Potato |
| Looking straight at the sun | Sunflower |
| Doesn't want its name to be said | Shyberry |
| Looks dead on the outside | Skull Orchid |
| May bring you to eternal sleep | Gloom Hops |
Bring the harvested crop items rather than the seed packets. If one of the seven is not available to you yet, leave the tower and keep working its own town task until it can be grown — the Stone Tower objective waits, and the individual crop unlock chains are their own routes, not steps inside the tower.
A pedestal that rejects a correct-sounding answer is almost always being handed a seed packet or a different crop from the same family. Check the item in your inventory against the table above before you assume the riddle changed.
All seven pedestal interactions are accepted and the journal stops asking you to investigate further on 3F. Continue along the newly opened route until you meet the next explicit blocker: the giant keyhole.
Phase 4: Open the Giant Keyhole Door
- Continue through the Shrine until you reach the giant sealed door and interact with it. Inspect it even though you clearly have no matching key — the inspection itself is the journal trigger.
- Return to Professor Dayton and ask about the giant keyhole. Do not wander into random locked rooms; this conversation is what connects the door to the correct external task.
- Complete the Art Gallery investigation. The tower and the Art Gallery are linked story locations, so follow the gallery's clue route to obtain the key that fits this door.
- Return to the giant door and use the key. If no prompt appears, confirm that you inspected the keyhole and spoke to Dayton afterwards — holding the gallery key first does not skip those two journal triggers.
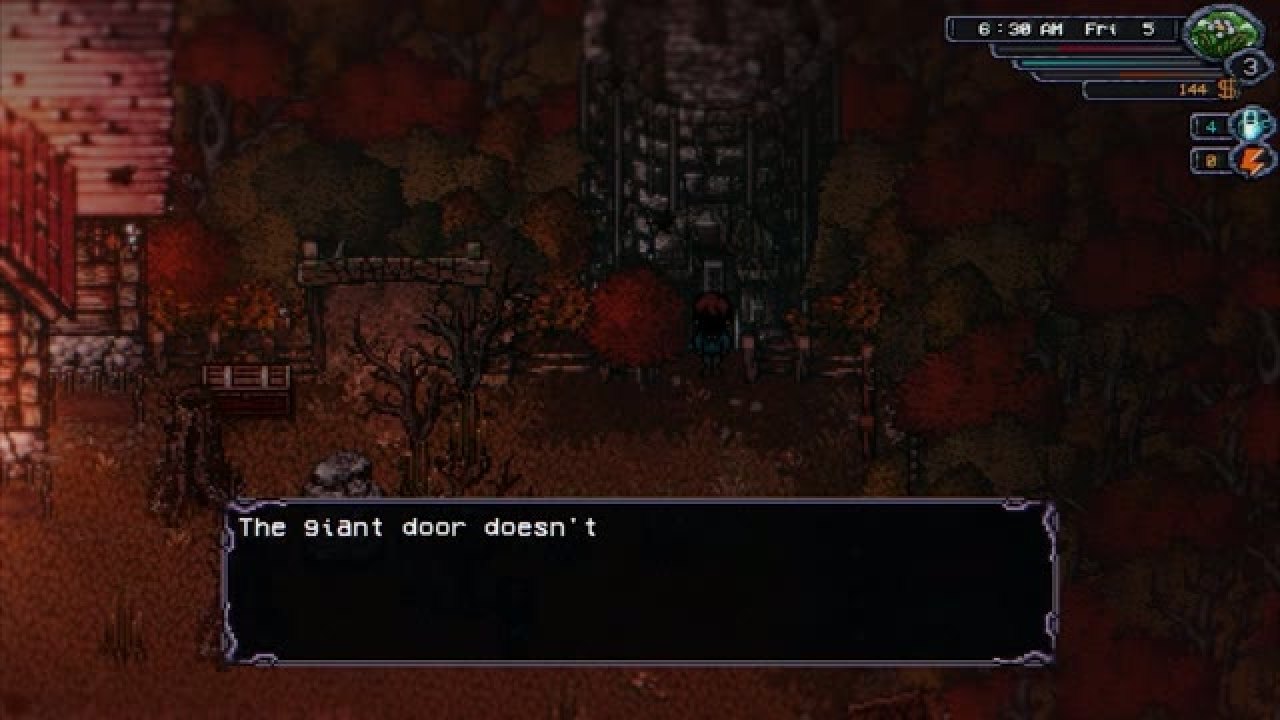
FIG. 02 — The Stone Tower's giant door is a quest handoff, not a local switch puzzle. Inspect it, take it to Dayton, and finish the Art Gallery before the passage behind it opens.
The giant door accepts the key and the final passage becomes accessible.
Phase 5: Defeat the Emissary and Finish the Task
- Enter the passage behind the giant door. The route continues downward toward the final sealed area, so do not go looking for a climb to the tower's summit.
- Clear the encounters along the opened path. There is no further contribution or riddle handoff from here; keep following the newly accessible route.
- Defeat the Emissary. This is the combat endpoint of the chain. Let the post-fight scene and journal update finish before you leave the area.
- Return to Professor Dayton and report the kill. Beating the boss and completing the task are two separate states, and the conversation is what closes The Stone Tower in the journal.
The Emissary is dead and Dayton has been told. If the boss is gone but the Stone Tower task is still open, the only missing step is that final report.
Stone Tower Troubleshooting by Journal Objective
| Problem | What is actually missing | Do this instead |
|---|---|---|
| The Stone Tower task never appeared | The entrance was walked past rather than examined | Interact directly with the large door near the Farm |
| Dayton has no useful follow-up | The tower's current blocker has not been inspected yet | Touch the marked door, writing or keyhole, then talk to him again |
| The first seal is still closed | The farming and ranching progression gate is incomplete | Clear more Farm and animal-care milestones; more conversation will not do it |
| The contribution objective will not finish | Valid goods have not reached 2,000g in combined value | Keep contributing crops or animal products until the journal advances |
| A 3F pedestal rejects the answer | A seed packet or the wrong harvested crop is being used | Match the exact crop in the table and carry the harvested item |
| The giant door will not take the key | The keyhole inspection or the Dayton handoff is missing | Inspect the door, report it, finish the Art Gallery, then return |
| The Emissary is dead but the Stone Tower task is still open | The final turn-in has not happened | Go back to Professor Dayton and report the kill |
Most Stone Tower stalls are one of these seven. If you need the wider order around the task, use the main story progression guide. If the Art Gallery is your current blocker, the Art Gallery guide covers the six rooms and the items each painting wants.
Did this answer your question?
What was missing?
Thanks — noted.