Welcome to Elderfield Mall Guide
Last updated: 2026-09-27 · 8 min read
The Mall is not a shopping trip. It is the first dungeon, it is the area the developers put in the demo, and it hides two things most players walk past: a free teleport-home skill in the very first store, and the entrance to a mine that runs three floors deep underneath the shops. Walk it in the right order and the building hands over a permanent skill, a fast-travel stop and a mine that gets better the further down you go.
On your first visit, go into Ultra Video — the first store on Mall F1 — and talk to the Shopper on the far right, next to the SALE/camera poster to learn Warp for free; it teleports you home from almost anywhere on the map. Then note the Mall Bus Stop outside the food court on F1, which unlocks with a Light Sandwich. The Mall Mines descend through F1, F2 and F3, and the deep floors are where the God Forge rooms and the good ore are. Buy your Small Mine Keys from the Mall Rat, and check the Vending Machine for ritual and skill tomes before you leave.
Why the Mall Matters
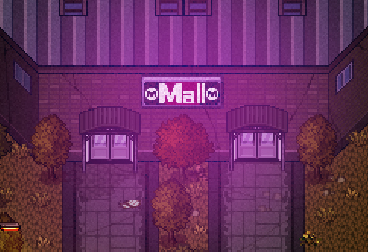
The Mall is the game's first dungeon, and the closest thing to a deliberate difficulty step in the opening hours. It is where the main quest sends you, and it is also the area the developers chose to include in the Steam demo alongside the town, the farm and the ranch.
Two consequences follow. First, the Mall is not a late-game location — some players hold off because the quests that point at it feel like a milestone, and then find themselves under-equipped for the storeys underneath it. Go when you are sent, and clear it properly.
The other consequence is that some of the most useful things in the Mall are optional, and the game does not announce them. The teleport skill below is the clearest example: it is free, it is permanent, and nothing tells you to look for it.
Once you have done the required route, the Mall stays useful as a mine and as a shop. It is a place you revisit, not a place you finish.
Getting There
The Mall sits on the eastern side of town, and it has its own bus stop. It is one of the stops that is paid for with an item rather than gold:
| Stop | Where it is | Unlock cost |
|---|---|---|
| Mall Bus Stop | Outside the food court area on Mall F1 | One Light Sandwich |
The sandwich is the noteworthy part: you need to be able to cook a Light Sandwich before the Mall stop will activate, which quietly links the fast-travel network to your cooking progress. If the stop is refusing to open, that is the reason — not a bug. The cooking guide covers where recipes come from.
If you do not have the stop yet, the walk is fine. The Mall exterior is also its own navigation landmark, and the mine entrances around the food court are the reference points players use to describe where things are.
The F1 Store Directory
The Mall has an outside, a first floor, and a hallway off F1. The named units are:
| Area | Unit | Worth knowing |
|---|---|---|
| Mall F1 | Ultra Video | First store you reach. Where Warp is learned — talk to the Shopper on the far right |
| Sports Planet | A sports store unit off the main floor | |
| Empty Store | Exactly what it says — worth a look, nothing to buy | |
| Music Store | Another F1 unit on the main run | |
| Food Court | Also the location of the Mall Bus Stop | |
| Mall Mines | The entrance down to the mine floors under the building | |
| Mall F1 Hallway | Offices | Back-of-house rooms off the F1 hallway |
| Administrator's Pool | The far end of the F1 hallway | |
| Mall Outside | — | The exterior approach and grounds |
Treat the F1 store run as a single sweep: come in, hit Ultra Video for Warp, walk the rest of the floor for anything interactive, and end at the food court where both the bus stop and the mine entrance are. That is the whole floor in one pass.
Get Warp on Your First Visit
Warp teleports you home from anywhere on the map without spending coins. It is the single highest-value thing in the Mall and it costs nothing.
- Where: Ultra Video, the first store after you enter Mall F1.
- Who: the Shopper standing on the extreme right, next to the SALE/camera poster.
- Cost: nothing. You do not pay for the book.
- Limit: it is active while you are within roughly five minutes of your home — which, on Elderfield's map, is most of the useful world.
Warp is what makes a failed mine run survivable: it turns "walk back across the map with low HP" into a single action. Learning it after the first wipe is the most common regret about the Mall. Ultra Video is the first door on the floor — there is no reason to postpone it.
The Vending Machine and Mall Rat
Two shops sit inside the Mall, and both sell things you cannot reliably get elsewhere. The Vending Machine is the ritual and skill tome vendor; the Mall Rat is the mining-supply vendor.
| Vending Machine | Price | Mall Rat | Price |
|---|---|---|---|
| Ritual Tome: Lesser Mending | 25g | Basic Pickaxe (Mining Lv 2) | 150g |
| Ritual Tome: Cosmic Premonition | 50g | Small Mine Key | 100g |
| Ritual Tome: Torrent of Darkness | 100g | Perfect Opal | 200g |
| Skill Tome: All or Nothing | 25g | Whetstone | 500g |
| Skill Tome: Heavy Blow | 75g | — | — |
| Toy Heart | 25g | — | — |
Three of these deserve a note. The Small Mine Key opens small mine doors and is consumed when used, so it is a consumable rather than a tool — buy them when you plan a deep run rather than one at a time. The Basic Pickaxe comes with a real level requirement (Mining Lv 2) and is the upgrade that lets you break the tougher nodes underground. And Heavy Blow is a combat skill rather than a ritual, so it is worth checking against the combat guide before you spend 75g on it.
The Mall Rat's opal and whetstone are both crafting ingredients rather than gear, and the same two items are also sold at the Forge Shop in the western outskirts. If you are already going to the Forge for ore, price them there first — see shops and money for the comparison and the 50% resale spread that applies to both.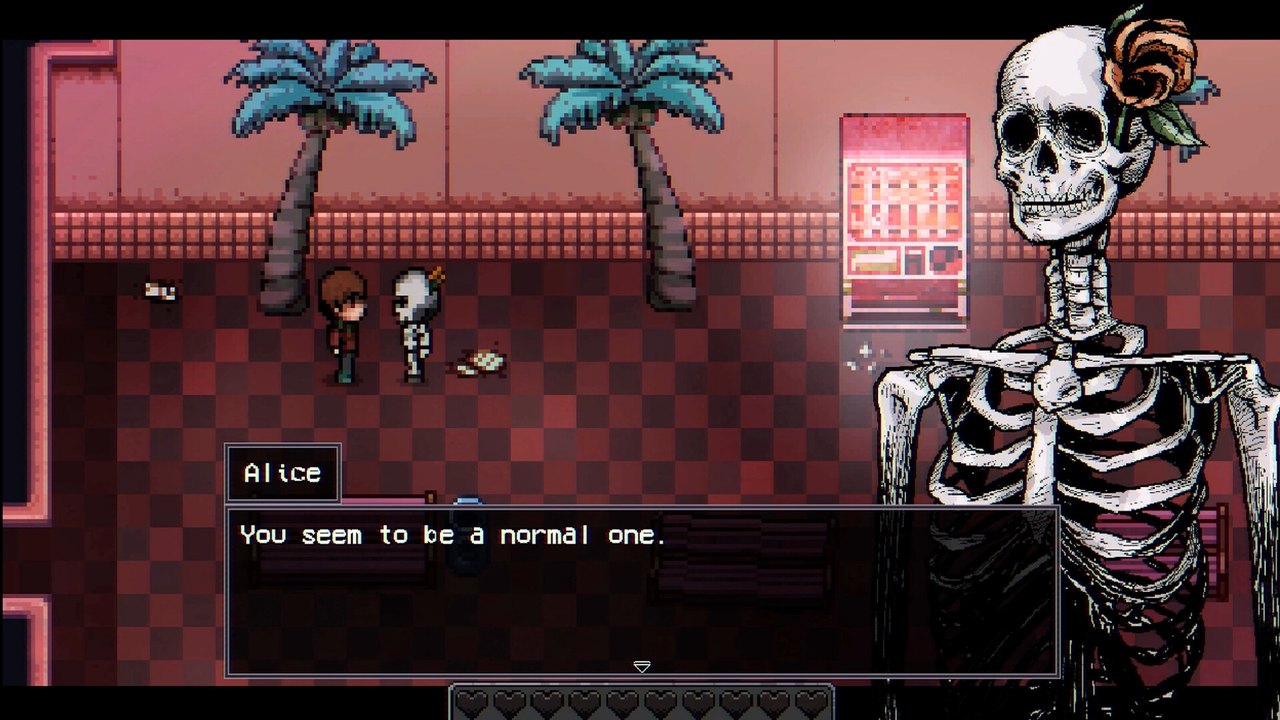
The Mall Mines: F1 to F3
The mine under the Mall is entered from F1 and descends through three floors. Treat them as a difficulty ladder rather than three equal areas:
| Floor | What it is | Why you go |
|---|---|---|
| Mall Mines F1 | The first mine level, directly under the Mall | Your introduction to mining; the safest place to learn node types |
| Mall Mines F2 | The second level down | Better ore density and one of the God Forge room locations |
| Mall Mines F3 | The deepest level, with several layout variants | The rare ore, the unique God Forge visitors, and the deepest loot |
The F3 point is the one that catches people out: F3 does not always look the same. It has multiple layouts, and which one you get decides which God Forge and which divine visitor is present. Three named variants exist — a Worm Room, a big-tree layout, and an Ancient Statue Room — and the interior can rotate between runs. If you are hunting a specific visitor, you are hunting a layout, not a floor.
The mine is also the practical reason to go early: Copper and Iron Ore are needed in quantity for tool and equipment upgrades, and gathering them before quests ask for them saves a lot of backtracking. The Forge Shop sells both if you are impatient, but at 45g per copper ore and 60g per iron ore, mining your own is the cheaper route.
God Forge Rooms Inside the Mines
Three of the seven Old God visitors are found in the Mall Mines, and each is tied to one F3 layout. This is the detail that makes the layout rotation matter:
| Visitor | Located in |
|---|---|
| Kaal | Mall Mines F3 — Worm Room variant |
| Hagroth | Mall Mines F3 — big-tree layout |
| Valtris | Mall Mines F3 — Ancient Statue Room variant |
God Forge rooms also appear on Mall Mines F2, so a floor-2 sweep is worth doing even when you have already cleared floor 3. Pledging to a god and what each visit unlocks is covered in the Old Gods and treasure rooms guide; the short version is that the Forge recipes behind each visitor are the reason these rooms are worth the trip, and Small Mine Keys and Skeleton Keys can be worth more than the stat bonuses because they permanently open routes.
What to Gather While You Are Down There
- Copper and Iron Ore. The two materials the whole upgrade ladder is built on. Take every node you can break.
- Small Mine Keys from the Mall Rat, before you descend — they are consumed on use.
- Your camera-poster detour done. Warp before mining, not after.
- A way to heal. Food is the cheap option; the trip back up is longer than it looks, and Warp only helps you get home, not survive the way down.
- Note which F3 layout you got. It determines whether the visit was worth repeating for a specific visitor.
Troubleshooting
Almost every Mall problem is a missing unlock rather than a bug, and each one has a single cause.
| Problem | Cause | Fix |
|---|---|---|
| Mall bus stop will not unlock | It costs one Light Sandwich rather than gold | Cook one first — the cooking guide covers where recipes come from |
| Cannot find the bus stop | It is outside the food court on F1, not in the entrance hall | Walk the food court end of F1, where the mine entrance also is |
| Cannot find Warp | Nothing in the game points at it, and no shop sells it | Ultra Video on Mall F1, from the Shopper on the far right next to the SALE/camera poster. Free |
| Worried Warp is missable | It does not expire | Collect it anyway — it is easy to walk past, and it is the first thing worth doing in the Mall |
| The mines look different from last time | F3 has multiple layout variants, and the interior can rotate between runs | Identify the layout before you start hunting a specific God Forge visitor |
| Hunting a specific God Forge | The rooms sit on more than one mine floor | F2 has one, and F3 has three more tied to its layout variants |
| The starter pickaxe will not break a node | Tougher nodes need Mining Lv 2 | The starting pickaxe covers F1. Buy the Basic Pickaxe (150g, Mining Lv 2) before a deep run |
Did this answer your question?
What was missing?
Thanks — noted.
Images on this page are from the Welcome to Elderfield Wiki, used under CC BY-SA 4.0.